Health & Safety
ERMI Testing Explained: Scores, Limits & Next Steps
Got an ERMI mold report you don't understand? Learn what the score means, what it can't tell you, and the right next step for your home.
In this article
What Is ERMI Testing? A Plain-Language Guide to Scores, Limits, and the Right Next Step
A homeowner receives an ERMI report with a number, a color-coded chart, and very little explanation of what it means for their health or what to do next. The result can feel alarming, yet the number alone rarely answers the questions that matter most: Is there mold growing right now? Is the air unsafe to breathe? Does the house need repairs? This guide explains what ERMI measures, what its score does and does not tell you, and how to decide whether it is the right test for your situation at all.
Mold investigations work best when each test is matched to a specific question. ERMI is a useful tool, but it is one piece of a broader moisture and mold investigation rather than a complete answer on its own.
What ERMI Testing Measures and Where It Came From
ERMI stands for Environmental Relative Moldiness Index. It is a standardized method for analyzing indoor mold that was developed by the United States Environmental Protection Agency (EPA). The method is designed to give a consistent way to compare mold profiles across homes, using the same lab procedures and the same reference data each time.
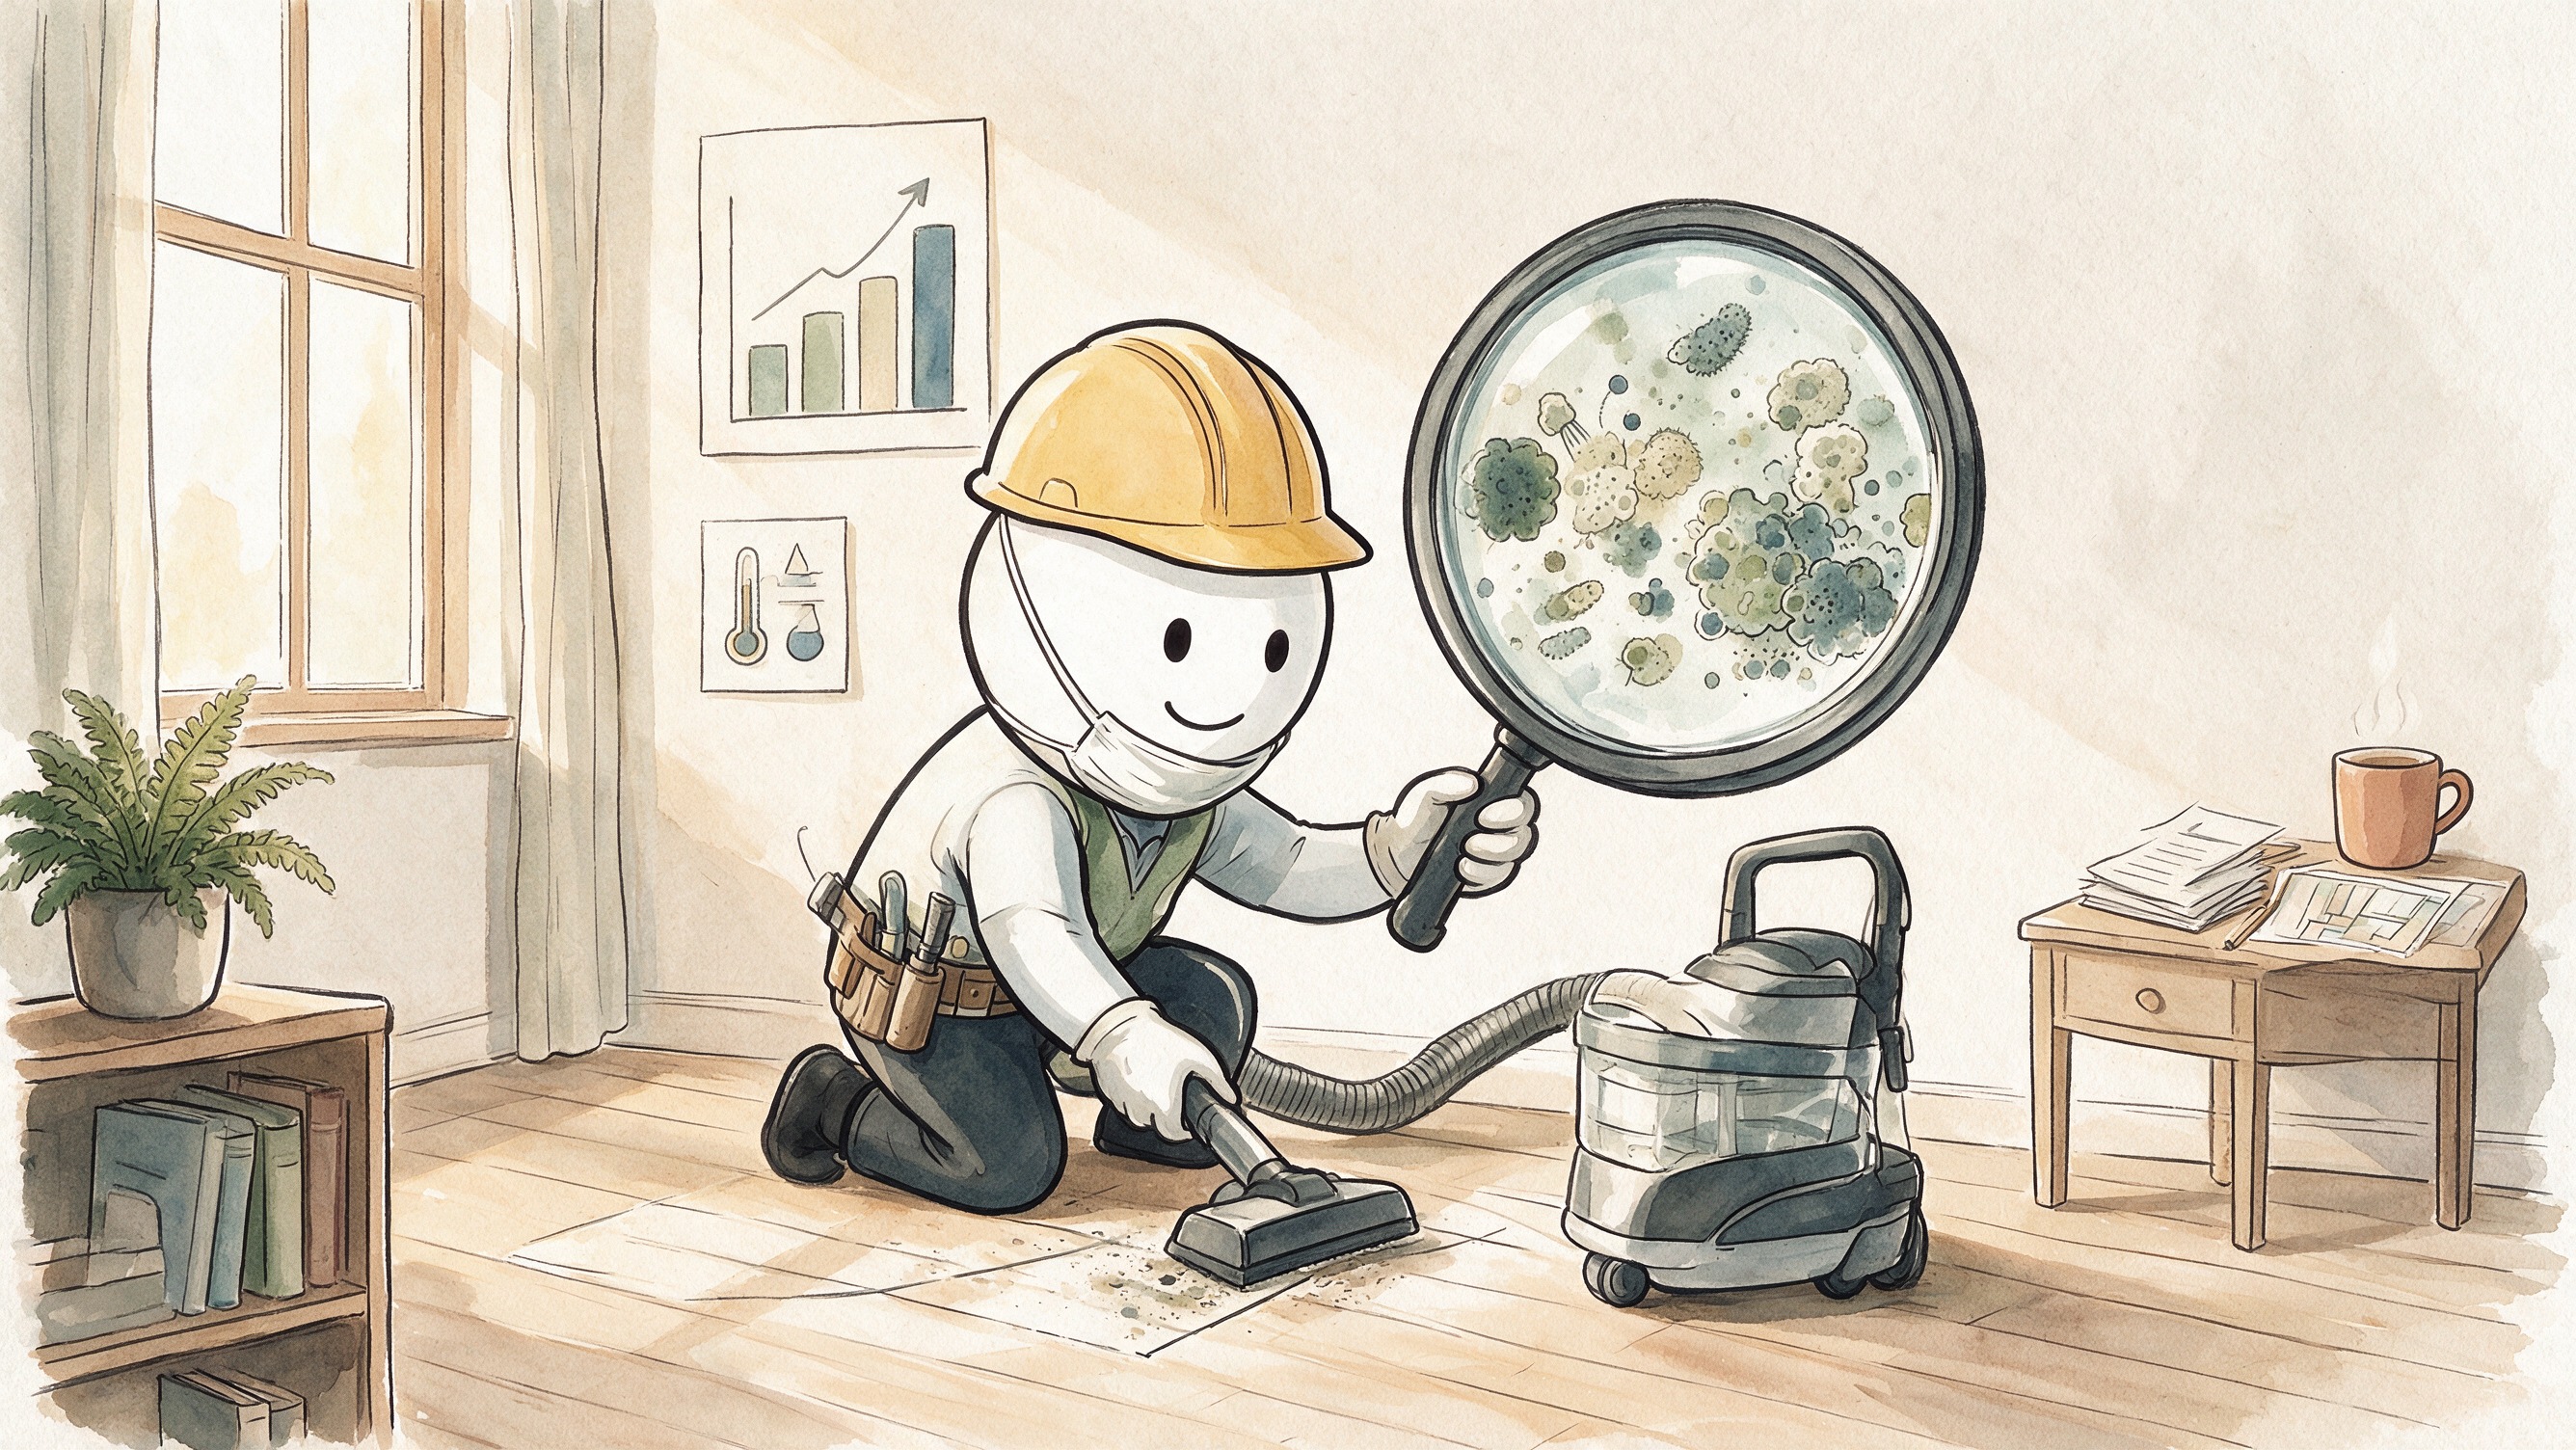
An ERMI test uses a dust sample, usually collected by vacuuming a floor or carpet in a defined area. The collected dust is analyzed with DNA-based techniques that identify the presence and quantity of specific mold species. The lab reports these results against a panel of molds that the EPA selected for the index.
The score is a comparison, not a count or a health threshold. It places a home's mold profile relative to a reference set of homes, which means a number reflects how a house compares with that group. It does not tell you how many spores are in the air, and it does not establish a safe or unsafe level for human health. The EPA's own fact sheet describes ERMI as a relative measure for comparing homes and for understanding accumulated contamination.
It is also important to understand the original design intent. ERMI was developed for dust collected from carpets, where mold fragments and spores can settle and build up over time. That makes it best understood as a record of accumulated history rather than a snapshot of current airborne levels. Samples taken from other locations, such as hard surfaces or in unusual conditions, may not carry the same meaning.
How to Read ERMI Results Without Overreacting
In general terms, a higher ERMI score indicates that a home's dust contains a mold profile that is more elevated relative to the reference homes, while a lower score indicates a profile closer to or below that reference group. Because the scale is logarithmic, small numeric differences can represent meaningful relative changes, so the score should be read in context rather than as a simple pass or fail grade.
Several terms appear on most ERMI reports and are often confusing. A few plain-language definitions can help:
-
Log scale: A mathematical scale in which each step represents a multiplication rather than an addition, which is why differences can look larger than they feel.
-
Reference group: The set of homes used as the baseline for comparison. Your result is only as meaningful as the reference group is similar to your home.
-
Species panel: The specific list of mold species the lab measures. A report does not cover every mold that might exist.
-
Dust sample: Material collected from a floor or carpet area, representing settled particles over time.
An ERMI score does not mean that you have a diagnosis, and it should not be used to determine whether any individual will develop symptoms. It does not measure the air you breathe at this moment, and it cannot predict health outcomes for a specific household member. People react to mold differently, and symptoms can have many causes that a dust test cannot assess.
The score also cannot tell you where mold is growing, whether growth is active, or whether it is concealed inside walls, insulation, or HVAC ducts. A floor dust sample may show a mold profile without revealing its source. That gap is one reason ERMI results often lead to follow-up testing and a physical inspection rather than a final conclusion.
Printable Sample-Reading Checklist
Use this checklist alongside your ERMI report so that the score is recorded with the context needed to interpret it:
-
Sample location and room type (for example, living room carpet or bedroom floor)
-
Date of sampling and date the report was issued
-
Moisture history in the past 12 months, including leaks, flooding, or condensation
-
Visible damage, staining, odors, or peeling paint near the sampled area
-
Recent cleaning, renovation, or water-damage repairs
-
HVAC type and whether ducts or filters have been inspected
-
ERMI score, reference group used, and any notes from the lab
-
Questions to ask your inspector or testing provider
When ERMI Is the Wrong Test
ERMI is not the right first step in every situation. Choosing the wrong test can waste time, add cost, and produce results that do not answer your real concern. The following scenarios are the most common mismatches.
Active leaks or recent water intrusion. A dust sample reflects past accumulation, so it cannot show whether a leak is still wetting materials today. In these cases, moisture detection and a visual inspection should come first to locate and stop the water source. Growth depends on ongoing moisture, so the source must be addressed before any test result can be fully acted upon.
Airborne exposure concerns. If your question is what is circulating in the air now, or during specific activities such as cleaning or renovation, air sampling or spore trap testing is more appropriate. Those methods capture airborne particles on the day of sampling rather than the settled history found in dust.
Wall cavities, HVAC systems, and hidden contamination. Mold behind drywall, under flooring, or within ductwork is often better identified through cavity-focused inspection, moisture mapping, and duct assessment where relevant. A floor dust sample may not reflect these hidden sources accurately.
Suspected mold on specific surfaces. When you can see or smell growth on a particular material, surface testing such as tape lifts or swabs can document what is on that item. This approach provides a clearer link between the sample and the material in question.
ERMI vs. Air Sampling, Surface Testing, Thermal Moisture Inspection, and Professional Assessment
The table below compares common options in neutral terms. Costs and turnaround times vary by region and provider, so treat these as general considerations and request current quotes for your location.
-
ERMI (dust sample): Measures mold profile in settled dust over time. Best for long-term history comparison, often in carpeted areas. Turnaround is typically days to a couple of weeks depending on the lab. Cost is moderate relative to other lab tests.
-
Air sampling (spore trap or air cassette): Captures airborne particles on the day of sampling. Best for current airborne questions and comparing indoor with outdoor air. Turnaround varies by lab. Cost depends on the number of samples taken.
-
Surface testing (tape lift or swab): Documents what is on a specific material. Best for visible or suspected growth on a known surface. Turnaround is usually short. Cost is generally lower per sample.
-
Thermal imaging and moisture meters: Identify where moisture is present or trapped. Best as an early step before any lab sample. Results are often available during the visit. Cost is typically tied to the inspection visit.
-
Professional inspection: Combines visual assessment, moisture investigation, targeted sampling, and a written report with remediation guidance. Best when results conflict, the source is unclear, or the problem is extensive. Timing and cost depend on scope.
ERMI and air sampling answer different questions. ERMI reflects dust history over time, while air sampling offers a snapshot of airborne spores on the day of sampling. Neither method by itself can confirm a source, measure current moisture, or verify that a building is safe.
Thermal imaging and moisture meters often come first because they show where water is entering or lingering. Locating the moisture is usually more useful than any single lab number, since it points directly to corrective action.
Scenario-Based Guidance: Which Test Fits Your Situation
Pre-purchase buyers. A professional inspection with moisture detection is typically more useful than ERMI alone. It addresses current conditions before closing and can identify issues that a dust sample would not reveal, such as active leaks or hidden water damage. An ERMI result can be added as supplementary information if the buyer wants historical context.
Post-flood homeowners. Priorities are moisture mapping, verification that materials have dried, and air or surface sampling in affected areas. ERMI may be used as a secondary history check, but it should not replace assessments of current conditions after water intrusion. Drying status and material condition matter most in the first stages of recovery.
Post-remediation verification. Confirming cleanup requires post-remediation testing and a clearance-style assessment. A pre-remediation ERMI baseline does not show that growth has been resolved, and comparing a new dust sample to an old one can be misleading if sampling locations or conditions differ. Verification should focus on the areas that were remediated and the moisture conditions that allowed growth to occur.
Renters and pet owners. Sampling logistics differ in these cases. Renters should confirm access arrangements with their landlord, document moisture sources and prior repairs, and keep written records of reported issues. Pet owners may want to focus on carpeted areas where animals spend time, but the same moisture questions still apply. A DIY mold test kit with expert support can be a reasonable first step for many households, especially when the goal is to decide whether a full inspection is warranted.
A Three-Step Action Plan After Any Mold Test
Step one: verify moisture sources. Check for leaks, condensation, high humidity, poor ventilation, and drainage problems around the home. Mold growth depends on ongoing moisture, so a test result without a moisture investigation leaves the underlying cause unresolved.
Step two: sample appropriately. Match the test to the question. Use ERMI for long-term dust history, air sampling for current airborne levels, and surface testing for specific materials. Thermal and moisture assessments should inform where samples are collected.
Step three: plan remediation with a written report. A useful report connects findings to corrective steps, explains which conditions must be fixed first, and identifies what should be rechecked after work is complete. When results are unclear, conflicting, or the problem is extensive, a verified professional path can provide clearer direction.
ProDetect Mold Inspection approaches this process by pairing inspection and testing with detailed reports and remediation guidance, so that homeowners can see how each finding relates to the next step. The company offers professional mold inspection, air quality testing, surface mold testing, moisture detection with thermal imaging, and professional-grade mold test kits with expert support. Readers who want specific details about methodology or sample reports can request them directly from the company before booking.
Summary and Next Steps
ERMI is a standardized EPA-based dust analysis that compares a home's mold profile against a reference group. It reflects accumulated history rather than current airborne exposure, and it cannot identify mold location, activity, or individual health risk. It is one tool within a broader moisture and mold investigation, and it is most useful when paired with moisture detection, appropriate sampling, and a clear remediation plan.
If you have an ERMI report, start by completing the sample-reading checklist above, then identify any ongoing moisture sources. Decide what question you need answered, whether that is dust history, current airborne levels, or the condition of a specific material, and choose the test that matches it. When the picture remains unclear, consider a professional inspection.
To discuss professional inspection, moisture detection, or a DIY mold test kit with expert guidance, contact ProDetect Mold Inspection at https://www.prodetectmold.com, call 833-659-3463, or email hello@prodetectmold.com.